Day 2 Creative Coding: What have I done?
Today I have:
- Installed the processing software (IDE)
- Added a shortcut to the desktop to start it.
- Added a library called controlP5 (don’t actually know what that has done yet)
- Edited a simple piece of code that made a white circle on a black background (ellipse) changing the size and location of the circle, then the colour (fill) and the colour of the background.
- Downloaded the sample sketch files for the course.
- Edited (played with) the first sample sketch (w1_01) – what was involved is expanded in more details below
The code
This is the code for the final image:
/*
 * Creative Coding
 * Week 1, 01 - Draw your name!
 * by Indae Hwang and Jon McCormack
 * Copyright (c) 2014 Monash University

 * This program allows you to draw using the mouse.
 * Press 's' to save your drawing as an image to the file "yourName.jpg"
 * Press 'r' to erase your drawing and start with a blank screen
 *
 */


// setup function -- called once when the program begins
void setup() {

  // set the display window size in pixels
  size(1200, 675);

  // set the background colour to a blue picked from tools > color picker
  background(60,7,237);

  // set the rectangle mode to draw from the centre with a specified radius
  //rectMode(RADIUS); //not using this as have used ellipse
}


// draw function -- called continuously while the program is running
void draw() {

  /* draw a circle at your mouse point while you are pressing
   the left mouse button */

  if (mousePressed) {
    // draw a circle with a quite large random variation in size
    stroke(0); // set the stroke (border) colour to a black
    fill(255,136,23); // set the fill colour to orange with no transparency
    ellipse(mouseX, mouseY, random(60), random(60));
  }


  // save your drawing when you press keyboard 's'
  if (keyPressed == true && key=='s') {
    saveFrame("karen1.png");
  }

  // erase your drawing when you press keyboard 'r'
  if (keyPressed == true && key == 'r') {
    background(255);
  }
}
The images
Image 1 500×500 jpeg – didn’t like quite how the image rendered as a jpeg. Thought it would be crisper as a png. Looked up how to change the save option.
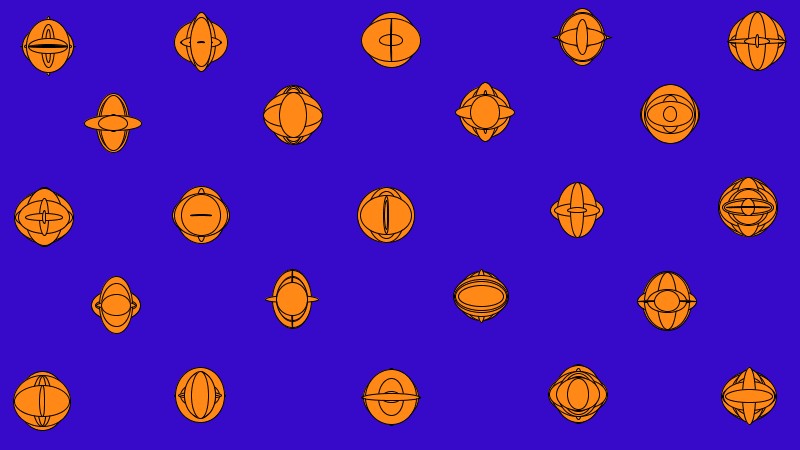
Image 2 1200-675 png – 16:9 ratio – less is more?
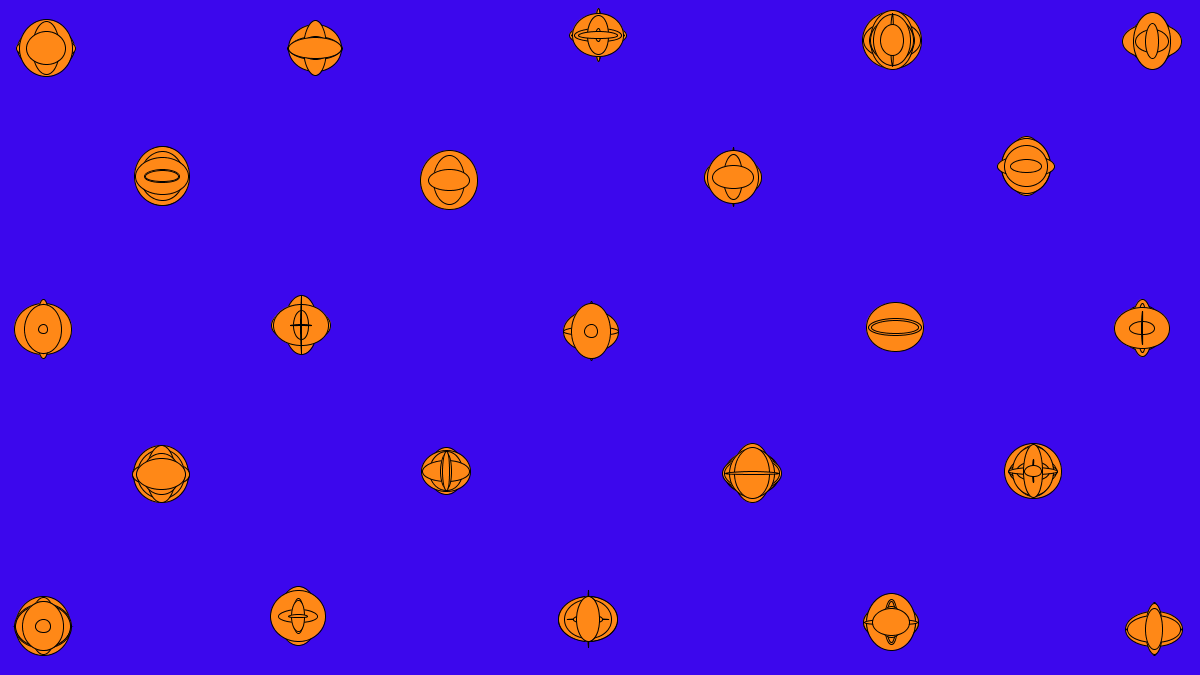
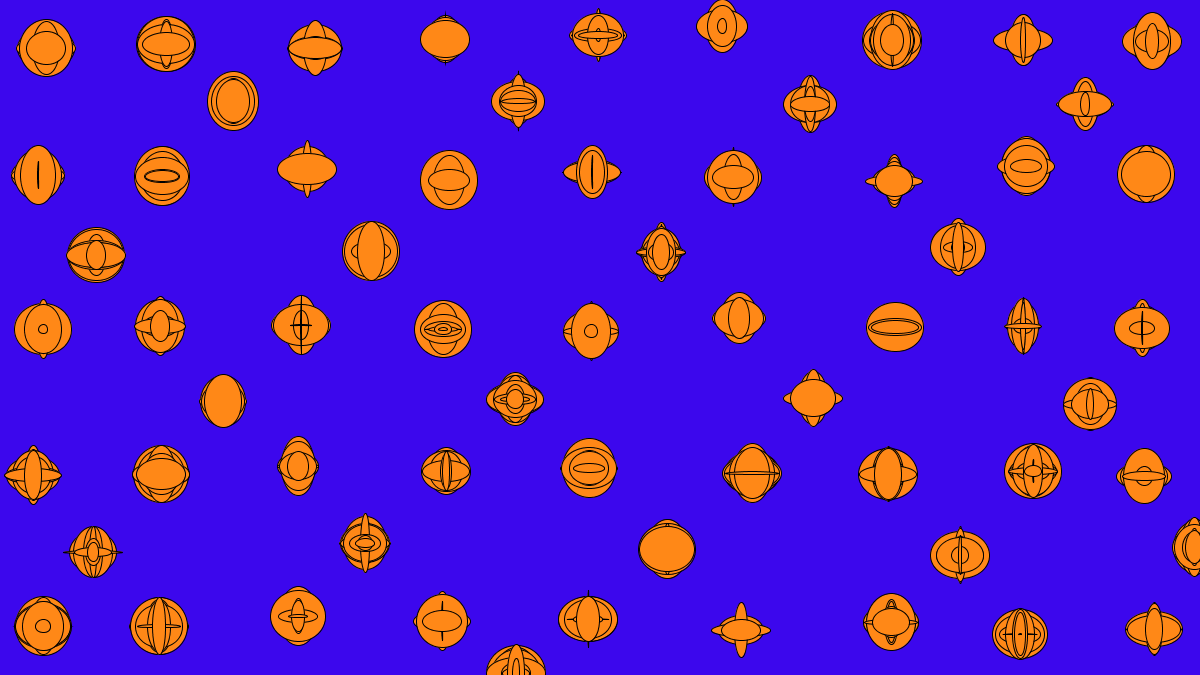
Image 3 1200×675 – 16:9 ratio – Image 2 with more baubles added (interstitials?)
What is the code doing?
Make a screen 1200×675 pixels. Make the background blue. When the mouse is clicked draw an ellipse that has a random width and height changing separately in the range 0-60 pixels. Make the border around the ellipse black and the fill orange.
What I was thinking about
I wanted to aim for the 3D effect that you get with red and blue together on a computer screen, but maybe it needs to be a black background with both red and blue together and then they look at different distances. I changed to orange and blue as complementary colours (remembering a long ago exercise that my friend was doing on a foundation art course). To my eye the colours together do have a vibrant effect one each other.
I didn’t want to draw lines, I liked the effect of holding the cursor in one spot and then letting go at a random time and getting a ‘blob’ that looks a bit like a Christmas bauble. But then I arranged these baubles in lines.
I was thinking about crystalline structures from my Materials Science/Chemistry days. In that context I was thinking about the juxtaposition of regularity of position with the irregularity of the individual baubles. A uniform pattern that is not uniform, a symmetry that is not symmetrical. Partly that is added to by the nature of hand placing the marks. But my eye doesn’t like the angles created by a 16:9 ratio frame, so I will probably need to do some maths to decide on the ratio that will give me a pattern of squares (90 degrees) within a rectangle.
Things I’d like to know
- How to set to save as a PNG file but with an automatic name each time rather than having to change it manually. The saveFrame command appears to allow for sequential generation of file names but only as TIFFs. If you specify PNG you have to also specify the filename which will overwrite anything already saved with that name each time.
- How to generate the spot shapes in automated positions without having to place them manually.
And finally
I am curious why the example code has “Copyright (c) 2014 Monash University” and what that means exactly? So I will be posting that as a question in the forum.
Recent Comments